MUS3164 – Foley and ADR Studies

Preparation 

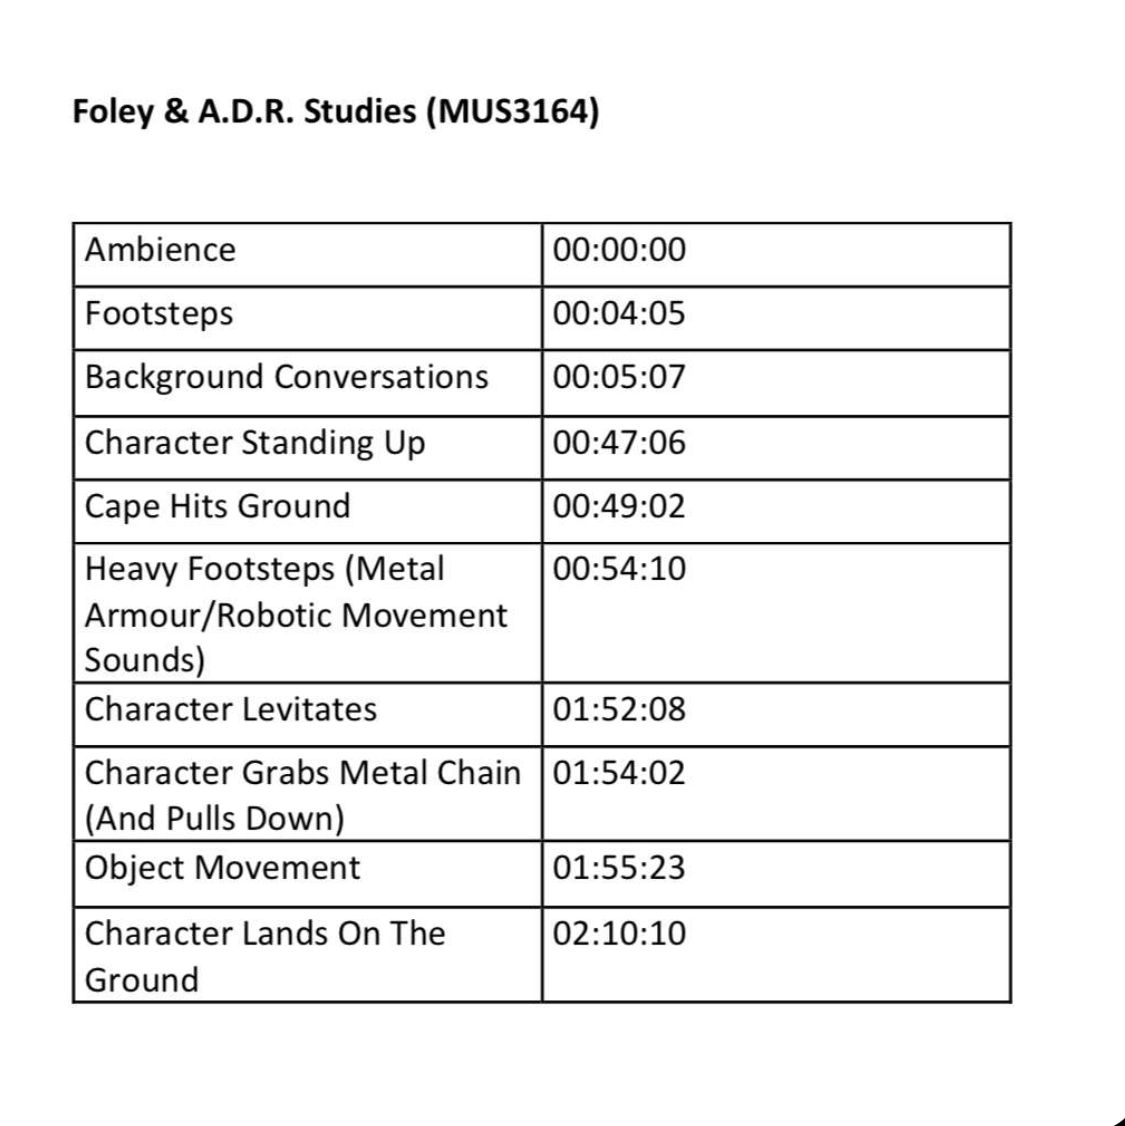
The first step in preparation was creating a table consisting of all the sounds we had to do for the clip as well as the time stamps for where these sounds begin. Below is a copy of this table. For this assignment myself, George Fetton Ben Jackson and Patricio decided to do a clip from Avengers Age of Ultron, in particular, when the Maximoff twins meet Ultron for the first time. For this clip, we needed to create sounds for the ambience, footsteps, background conversations, Ultron standing up, a cape hitting the ground, heavy footsteps, Ultron levitating, Ultron grabbing a chain making an object move and Ultron landing on the ground as listed below. We went through the clip identifying what sounds needed in order to create the best soundscape possible and made a list containing the time stamps for these sounds. 

After we identified what sounds were needed for the scene, we decided it would be useful to distribute the workload between each member of the group due to differing schedules and distance travelling being difficult. I was designated the role to produce the sounds for the cape hitting the ground, footsteps and the chain being pulled making the object move. I then began planning how I would recreate these sounds to the best of my ability and with the equipment I had at home. For the steps, I would record myself stepping in one spot and for the cape I would use a towel and wave it the same as Ultron does on screen. The sound I struggled with to think of how I would recreate it was the object moving which I ended up being able to record by simply knocking a piece of wood with my knuckles. 

Recording

Audio Technica 2020

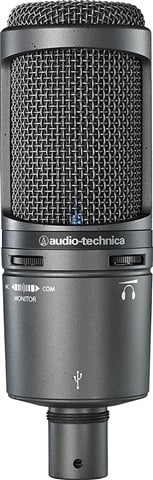
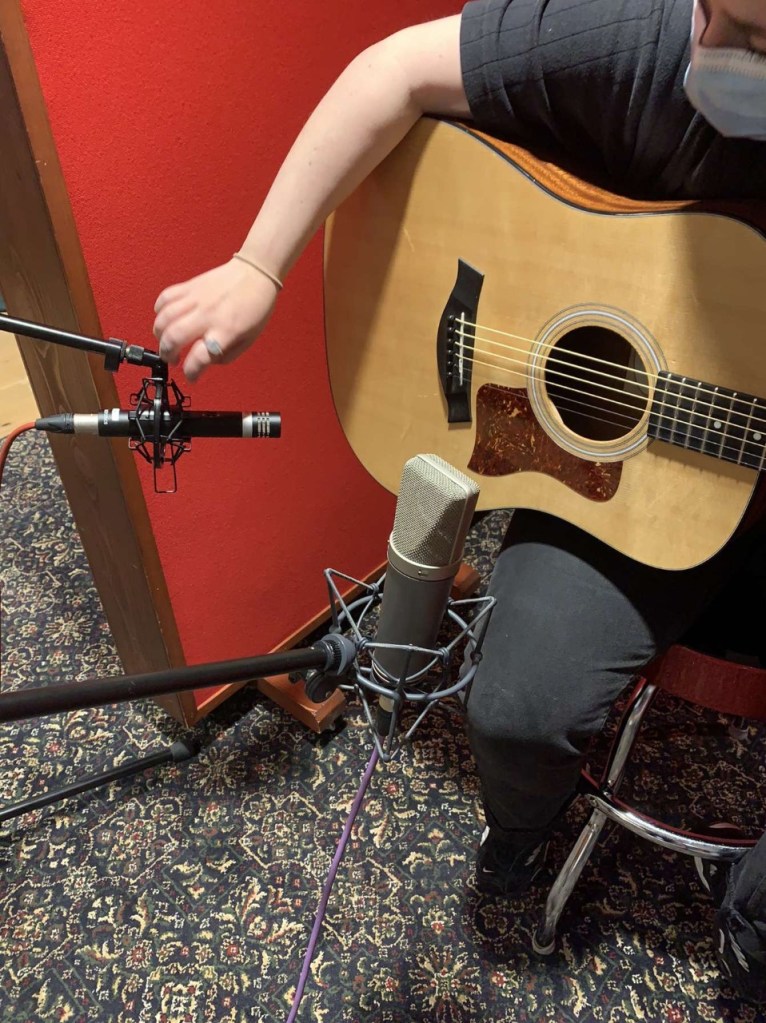
I first began recording the footsteps for the scene in which the Maximoff twins walk into Ultron’s lair. In this section, the ground is gravelly and course and so I decided to find a piece of ground that is similar to the path in the scene. I found a small section of ground that was concrete paving covered in debris of little stones and sand like material. I then used my Audio Technica at 2020 condenser microphone connected to a logic pro X file. I used this mic because it is extremely sensitive and so records very quiet movements which is needed when recording low sounds such as walking. It does pose the issue, however, of picking up background noise which I resolved through using wooden slabs to block the wind and other external sounds. I recorded myself stepping in time with the characters by playing the clip as I recorded. Upon first recording, I noticed that the sound was not similar enough to the original clip, the characters seemed to step and slide their feet on the gravel as opposed to just stepping naturally. I re-recorded the clips twice using this technique of stepping and then flicking the end of my foot to create this sound. I recorded multiple of these in order to layer them and create different sounds for each footstep to make it as natural as possible. 

Recording the Cape Hitting the Floor

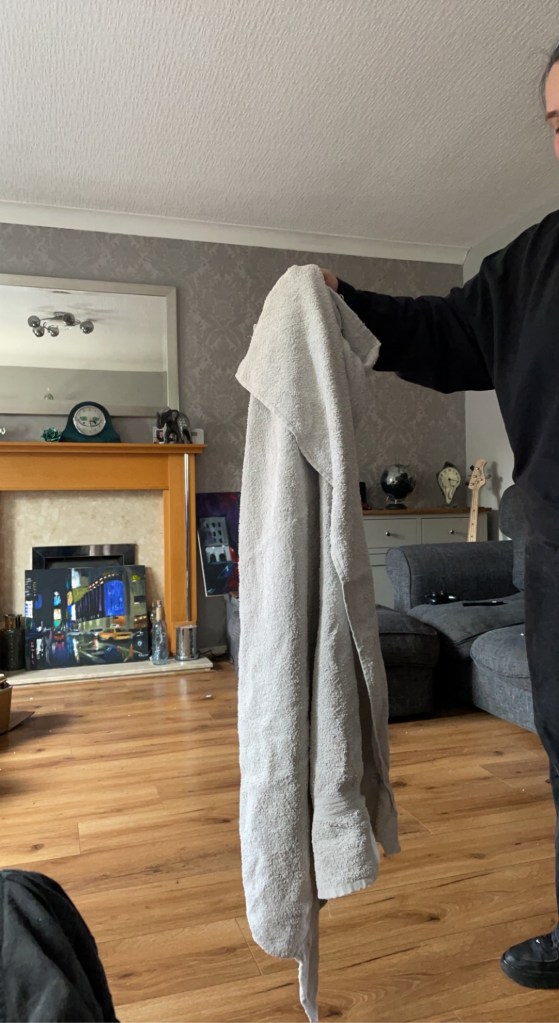
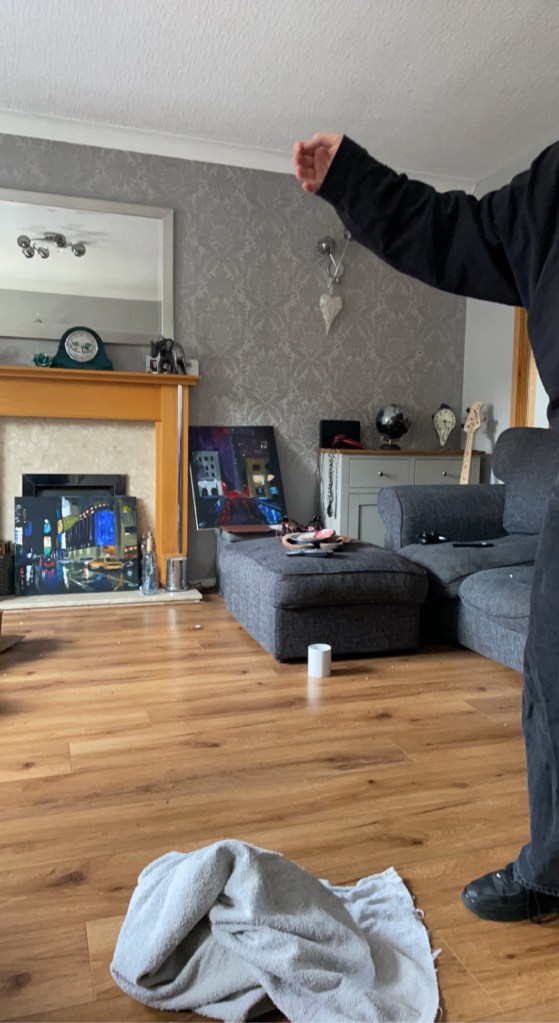
For the sound of the cape hitting the ground, I split the sound into two sections. The first being the Ultron spinning to face the Maximoff twins and the cape blowing in the air with the speed and then the second being the sound of the cape landing on the ground. I decided to record these separately, again using my Audio Technica At 2020. I tried multiple different items in order to recreate the sound of the cape waving, the first being a barbering cape as I believed that this was the correct material that is the most similar to the cape used by Ultron. However, when I attempted to record this, the cape was too light and made a crinkling sound that was unsuitable for the sound as not only was it not loud enough, but it was also the wrong texture of sound. I then decided to use a jumper, but this was too thick and did not create a loud or similar enough sound. I finally decided to use a bath towel which created the perfect tone and texture, being long enough to generate a nice, loud but soft sound that flicked at the end which was perfect for the recreation. For the second section of the sound, in being the sound of the cape hitting the floor, I decided to record the same towel dropping onto the floor and, with some slight editing, this worked perfectly. 

The object moving, as previously stated, was rather difficult to reproduce. Due to its deep metallic sound and slow rhythm, there were very few things that could recreate the sound accurately other than a machine itself. To combat this, I tried knocking on different surfaces to get a similar sound and tone to that of a chain moving and the rhythmic ticking of said machinery. I settled on knocking the wood of a windowsill multiple times, again using the Audio Technica At 2020. I then stretched the audio using logic pro x and pitched shifted the audio down by an octave. This gave the sound of a slow melodic clicking noise which was perfect for this scene. 

Avid C24 Pro Tools Controller
Dialogue Mic Set Up

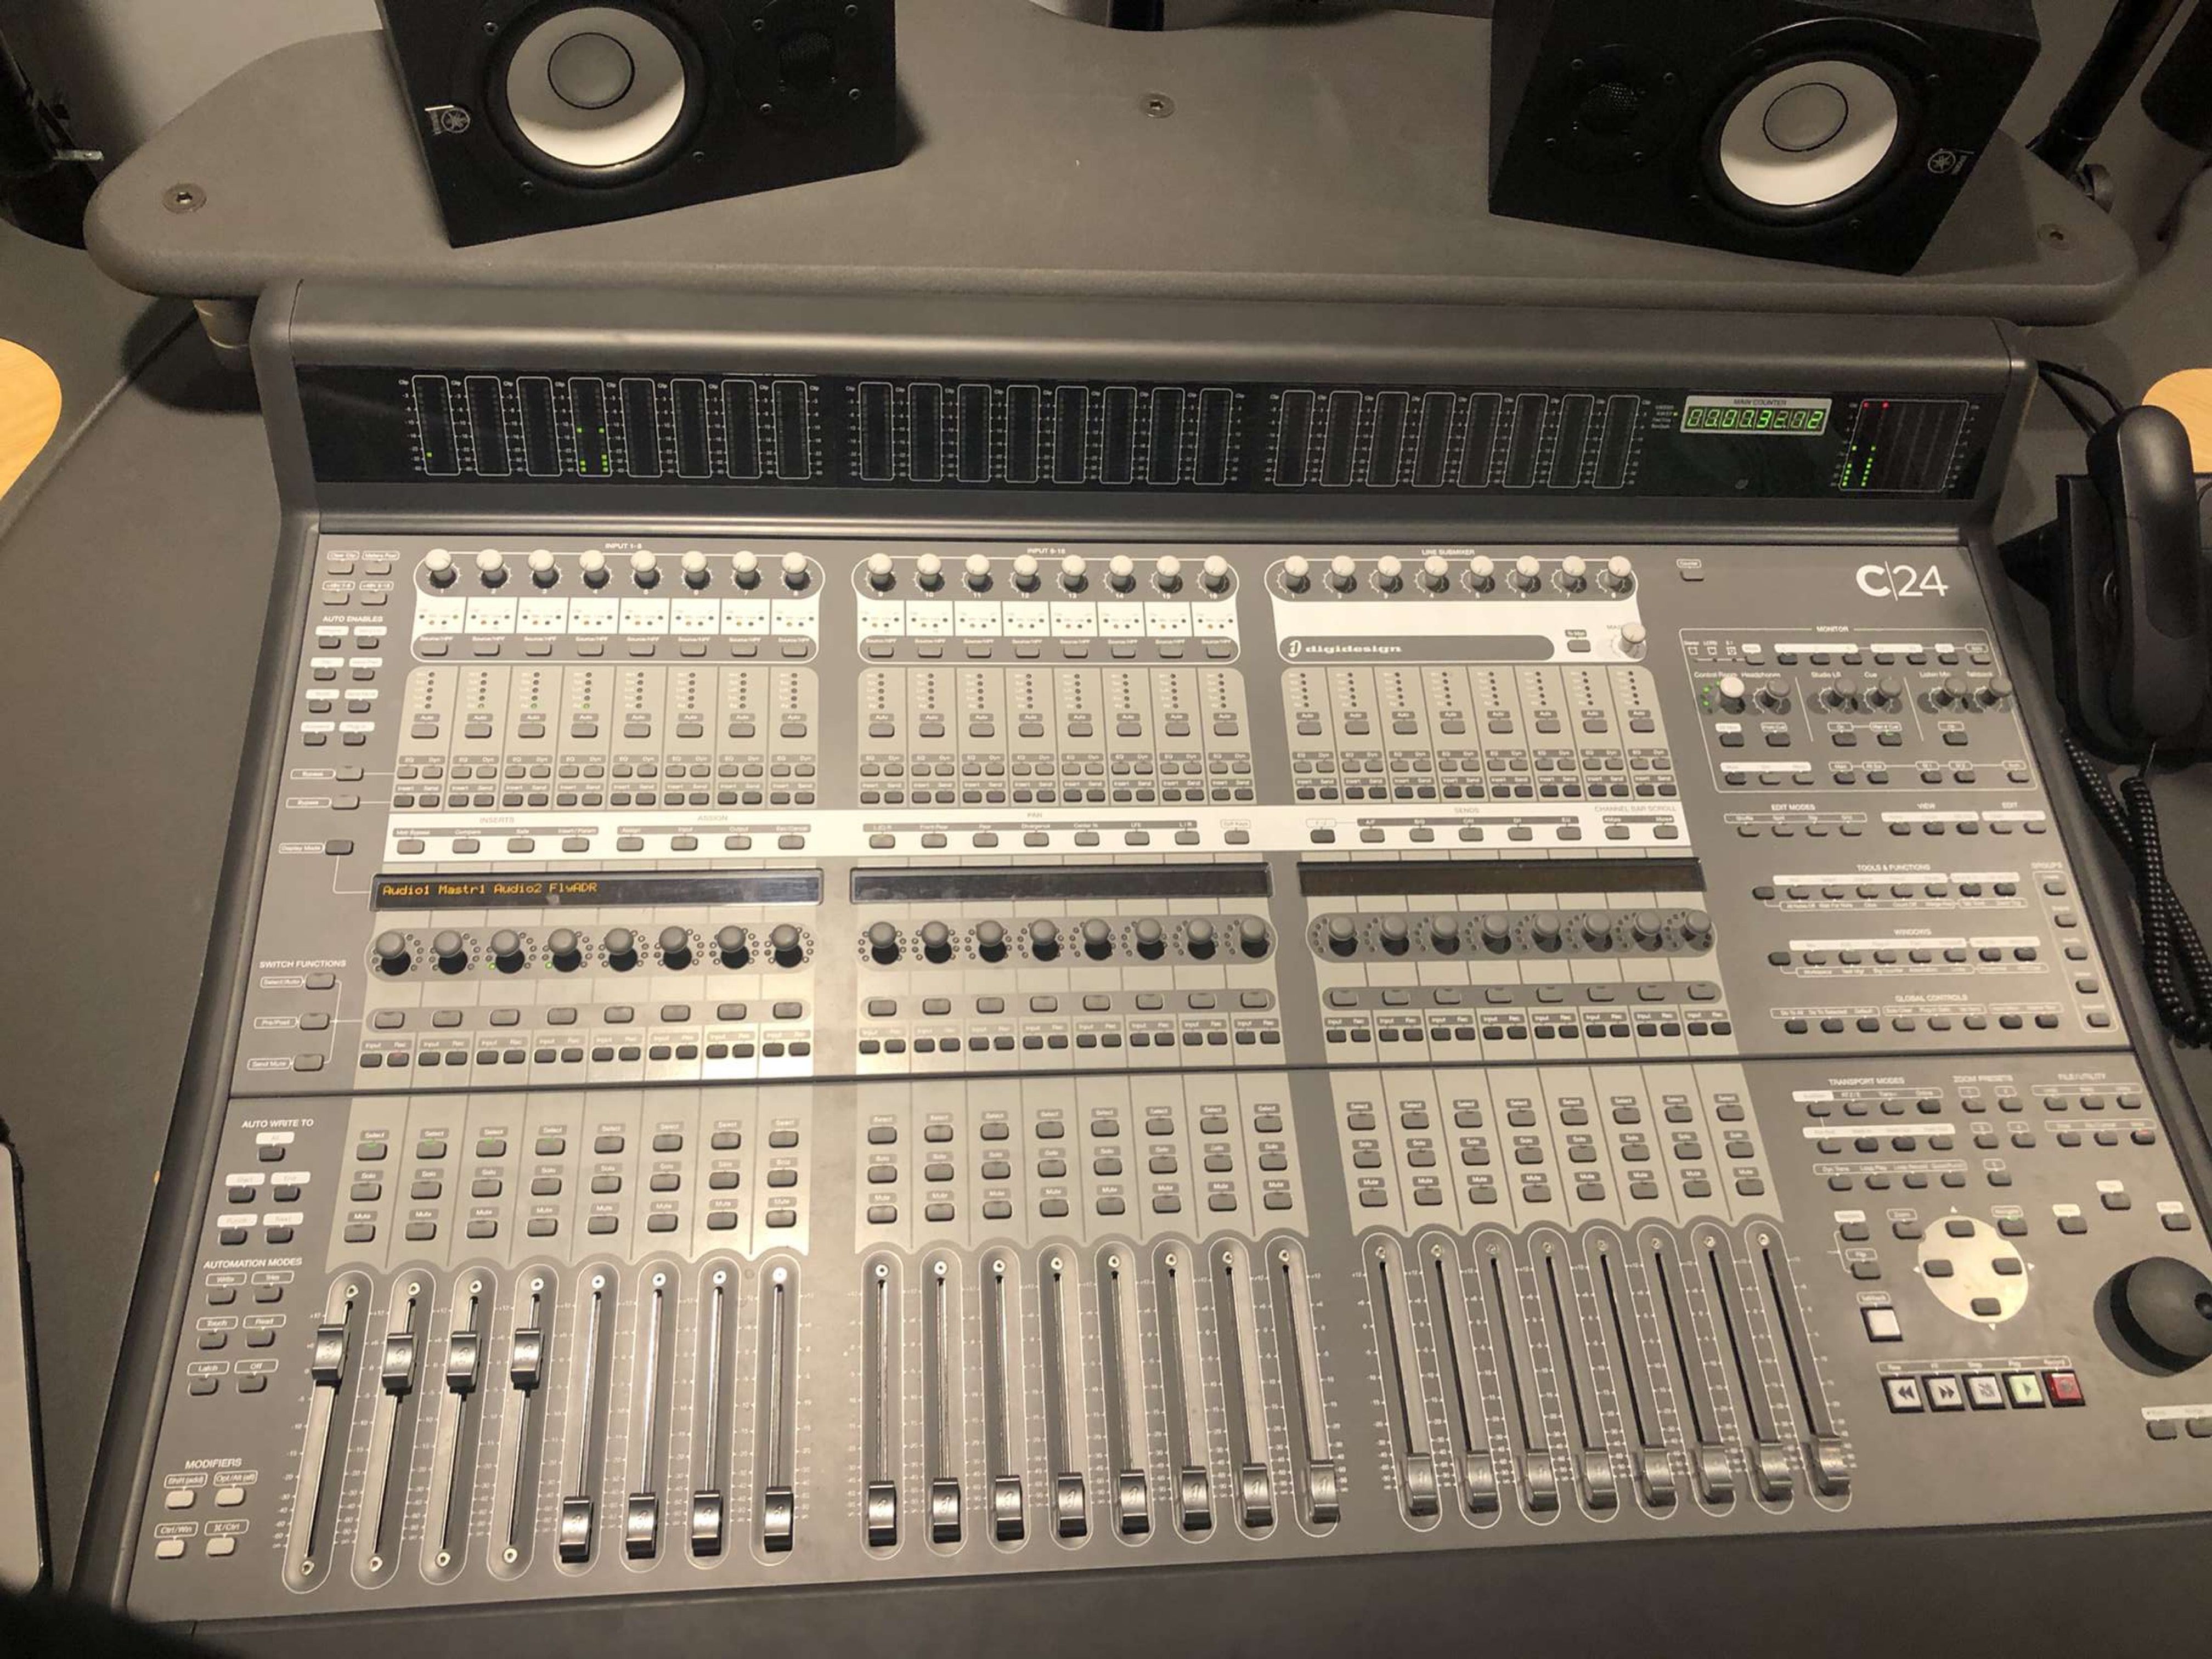
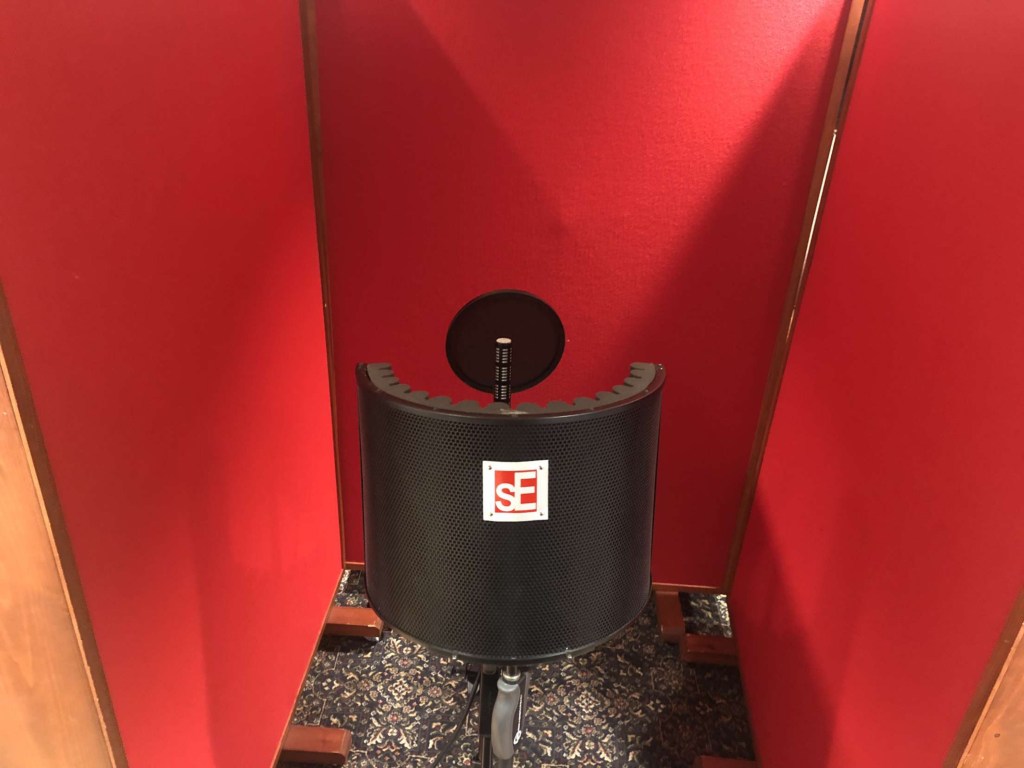
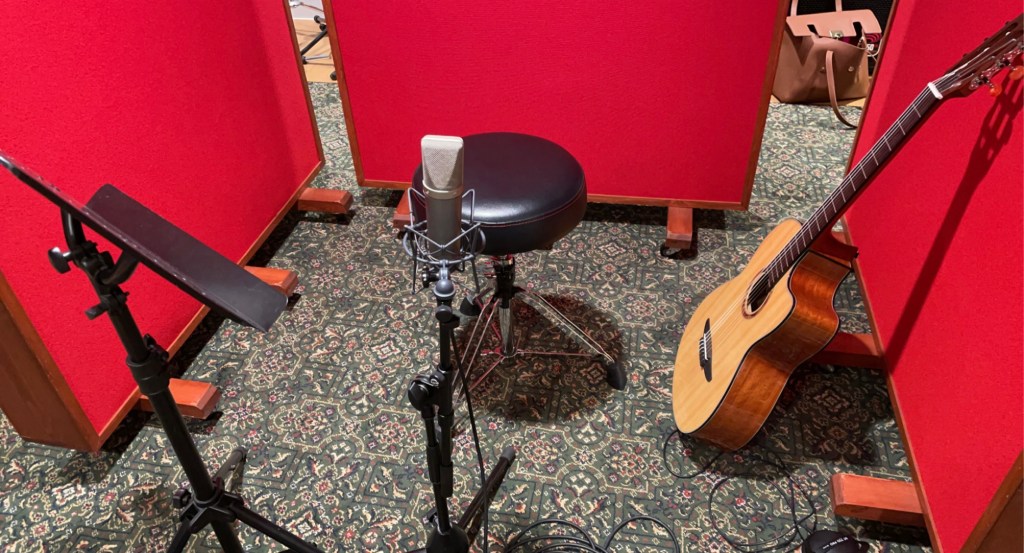
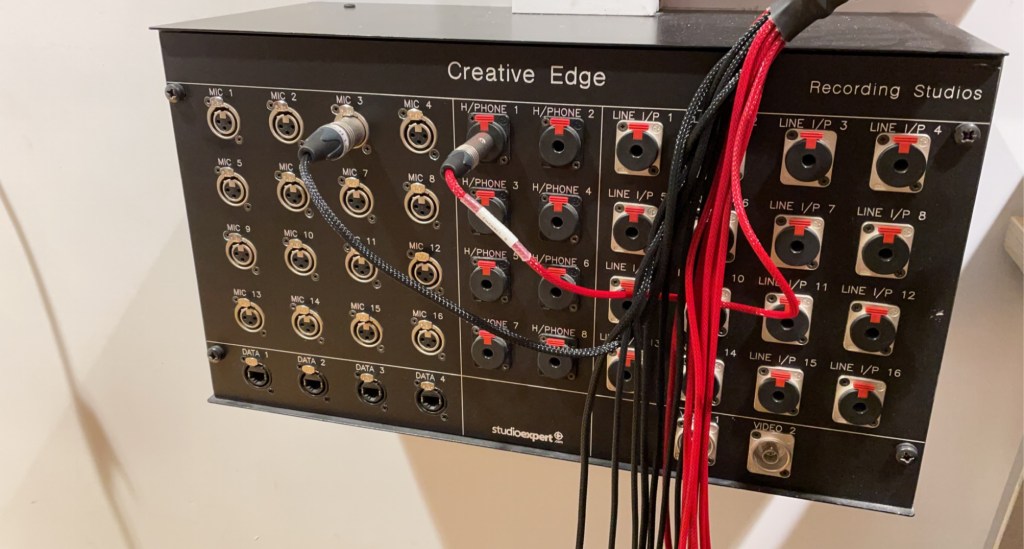
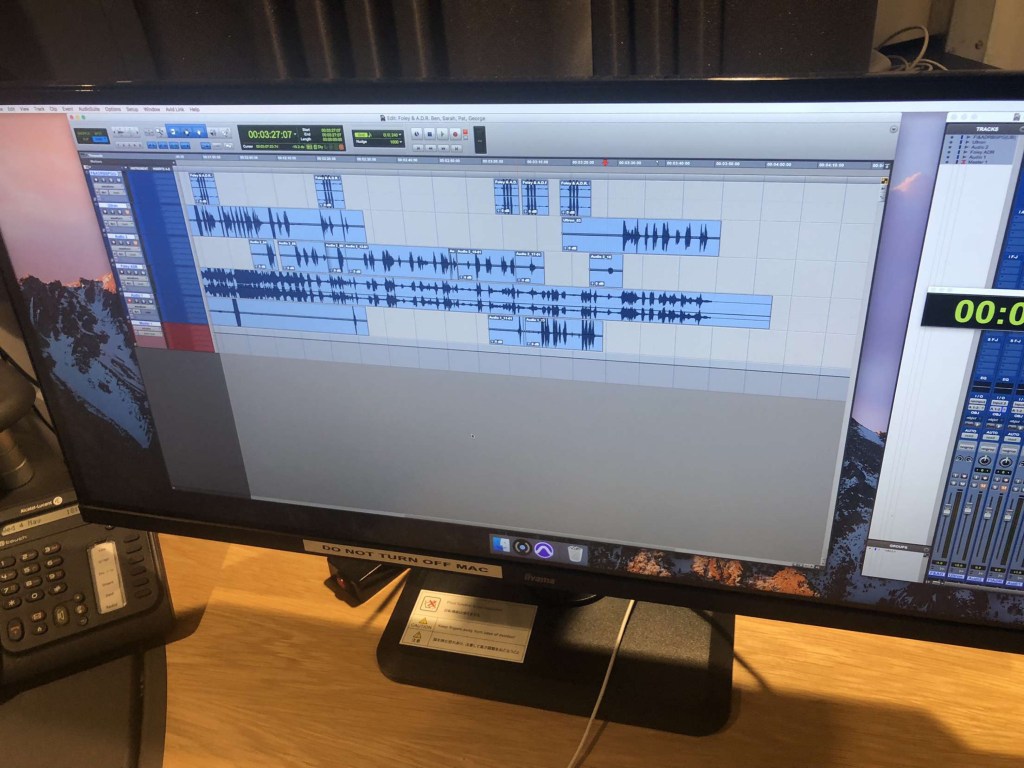
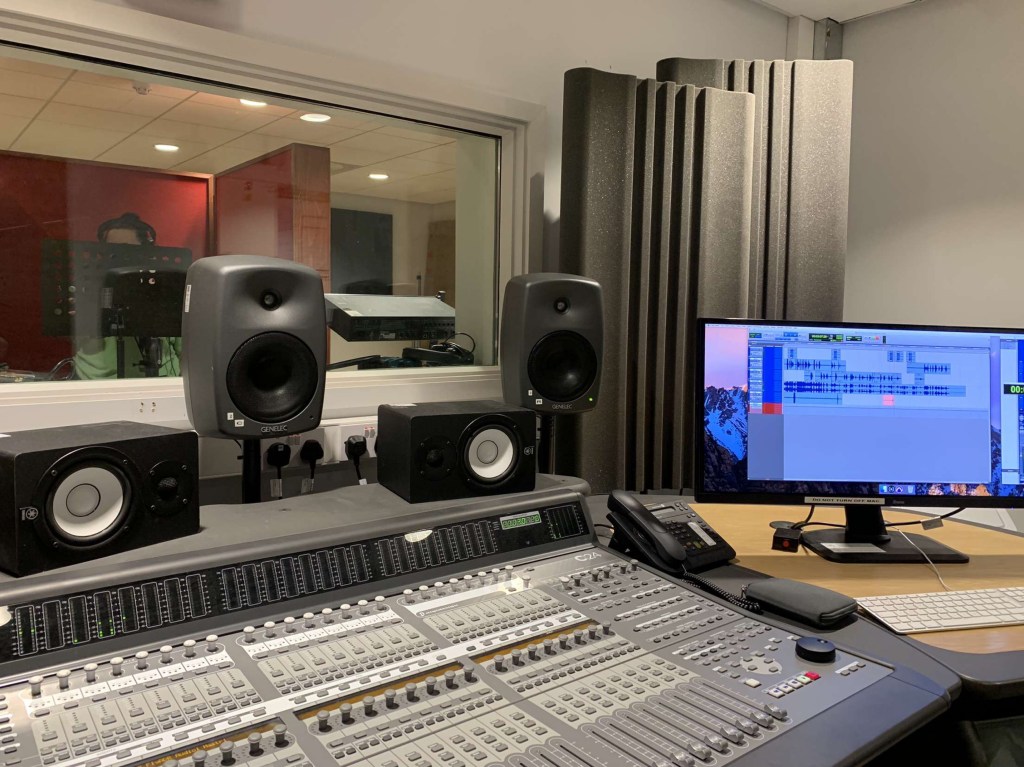
Another section of the recording that I was involved in was the dialogue of Wonda Maximoff. Luckily, I was able to travel into the studio in order to record this which made the process easier. For this, we used an Audio Technica AT 897 mini boom microphone which set in the middle of three partitions which helped block out external noise and using a pop shield to help with sibilance and we used the Avid C24 controller in order to make recording and editing on pro tools smoother. We then each had a script to read from which helped us remember lines and had the original scene playing in the background on the pro tools file to help keep us in time and relay the words exactly as the characters did. Unfortunately, when we came back to this file after saving and closing the pro tool’s session properly, this audio was lost, and I was not there to re-record the scene again. Because of this, Ezz Dudley stepped in and recorded Wonda’s part on my behalf. 

Pro Tools Session of Vocals
Myself Recording Dialogue

The other sounds recorded by the other members of the group individually were: 

  • Character standing up 
  • Heavy footsteps – Ultron walking 
  • Character landing 
  • Background chatting and ambience 
  • Character levitates 
Mini Boom Mic Used for Recording

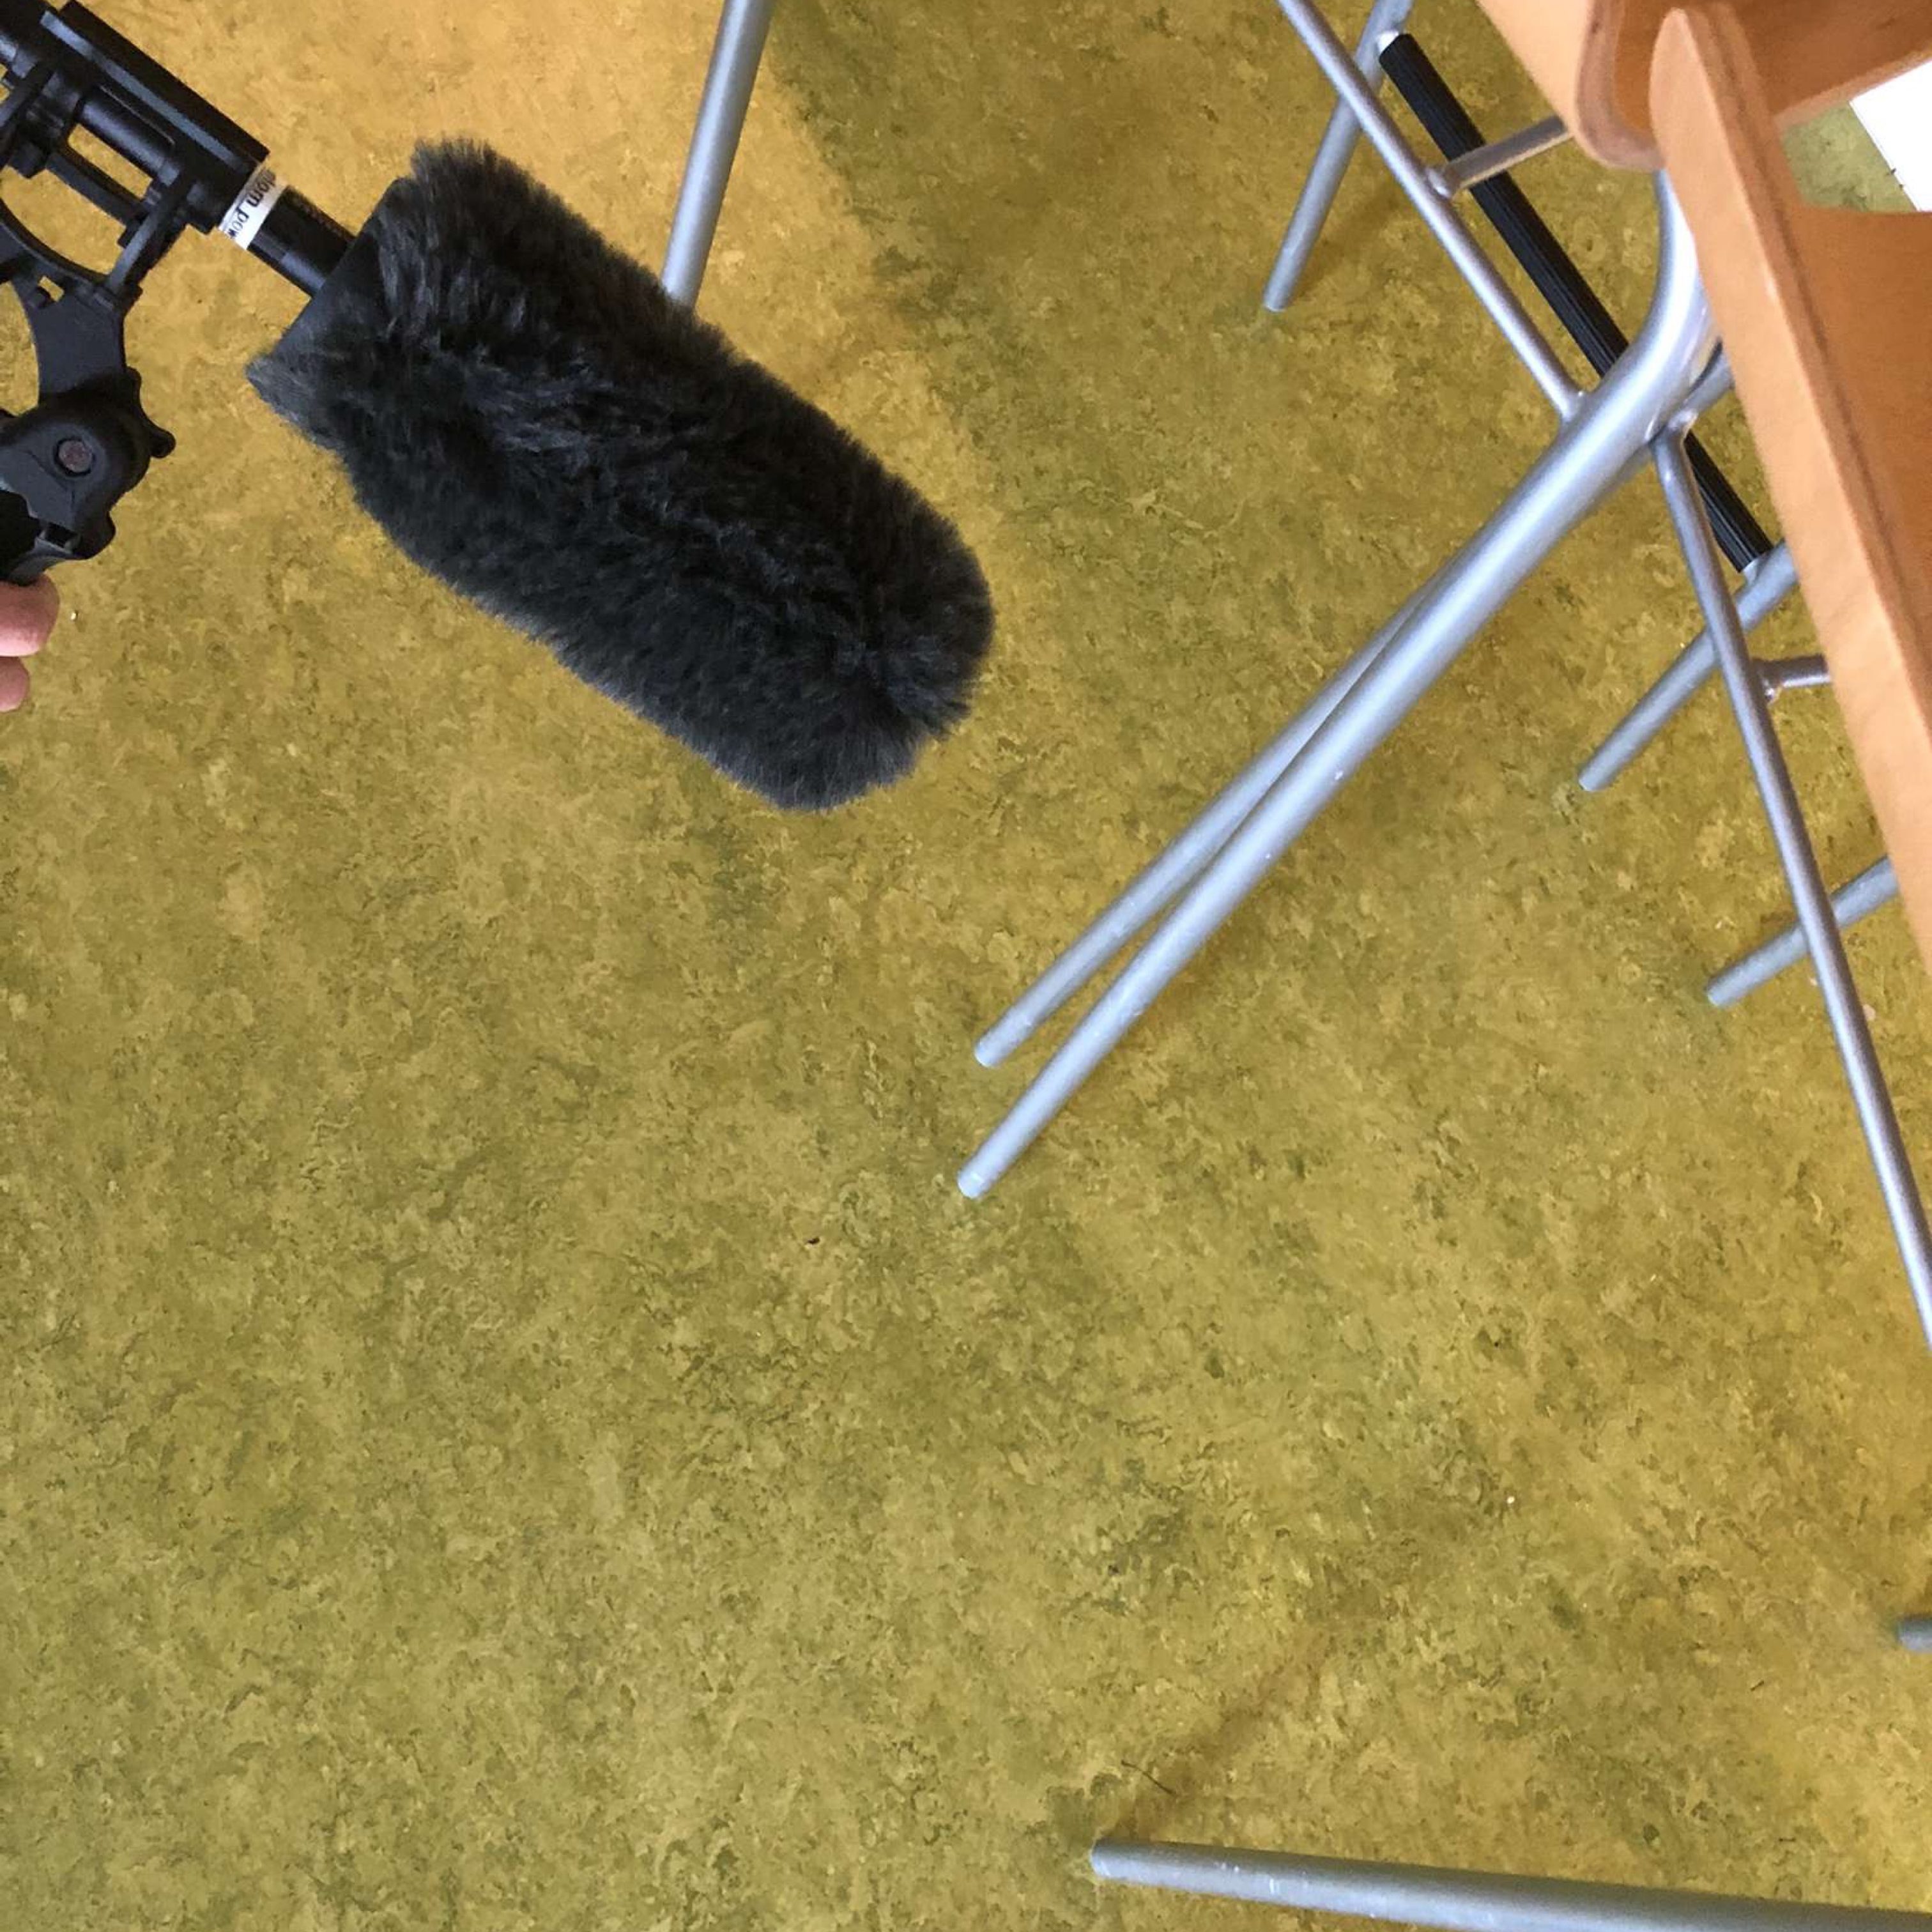
The character standing up, done by Ben Jackson, consisted of dropping a heavy blanket on the floor, the heavy footsteps recorded by George Fitton were created by knocking two weights together in unison with the character and the character landing was done by dropping these weights onto a desk. For the ambience and background chatter, Ben, Patricio and George went into Ormskirk town centre and recorded the natural sounds of the area. For the character, in being Ultron, levitating, we decided to drag the metal weight across a metal bar. Later in editing, Ben stretched the audio to make it deeper and longer and fit more accurately with the scene and for it to sound almost jet pack like. For all these recordings, an Audio Technica AT 897 shotgun microphone was used with a windscreen cover over the top. There are many advantages to a shotgun microphone such as, a narrow pickup pattern meaning they record a very crisp and accurate sound with minimal background interruption, clear sound as well as being able to record from far away meaning it is less intrusive when recording sounds.

Ben Jackson oversaw the editing and synchronisation of the piece, ensuring that the levels of each of the sounds were similar and not overpowering, clipping or inaudible in anyway. He also synchronised all the audio so it was in exactly the right place for each sound, so nothing was out of place and faded the ends and beginnings of all the audio for seamless transitions. 

Conclusion 

I believe that, given the fact that it was a difficult scene to recreate, especially with travelling and differing schedules, that we collectively created a recreation that fit with the scene perfectly. We created a clip free and seamless audio that matched the scene incredibly well. The biggest challenged faced throughout the entire process was not the project itself, but simply the differing schedules of the individuals in the group. This made it difficult for all members to be at one place at the same time. To control this and minimise the impact, we would either FaceTime the individual who could not make it to the sessions or have a call after the session was over to fill the members of the group in about what they missed and ask for input on what we should do in the next session. Another thing that set up back slightly in time was the missing audio from the dialogue. This resulted in us having to completely re-record everything we did in the previous sessions, however, despite this we were able to record it all with plenty of time spare. 

MUS2057 – Production and Mastering – Editing

Before I began mastering my project, I first had to mix it. According to iZotope (2001), mixing “carves and balances the separate tracks in a session to sound good when played together”. I started by adding fades to the beginning and end of every individual track. This made the transition between the segments seamless and made the project sound more professional. I then decided to use Equaliser (EQ) in order to separate the frequencies to make room for the instruments so they stand out in the mix. I started with the vocals, adding an EQ3-Band and utilising the Low-cut filter option, removing the “low frequencies from an audio signal”- Sweetwater (2002). By doing this, I freed up unused space at the bottom end, to be used by lower frequencies of other instruments. For a more natural sound, I added a D-Verb plugin to an Auxiliary channel which I used as a Bus to send the vocals to. Reverb adds natural harmonics to a piece adding warmth and space. I did the same for the guitar in the sense of introducing an EQ band for low-cut, as well as adding a secondary EQ band to manipulate the Hi-cut filter and free up space in the higher frequencies. I again created an auxiliary channel used as a bus with the D-Verb plug in attached and sent the guitar to this bus. For the piano, I added another auxiliary channel with an EQ band insert altering the low-cut filter and sent both the piano mono audio tracks to it, for the same reasons as previously mentioned. In order to edit the faders of all the piano channels at once, I introduced a VCA master channel and sent all of the piano tracks to it, including the Piano Aux. This allows for the “overall level of the grouped tracks to be brought up or down whilst maintaining the relative balance of the group” – ProTools Expert (2015). This concluded my mix and I was ready to master. 

I had to create a master for CD, TV and Streaming using the iZotope software. For the CD master, I decided to use the CD preset provided by the program. This added an EQ which boosted the top end frequencies, made the mix lighter and brighter as opposed to boomy, dense and bassy. It then implemented a compressor which divided the song into three sections: lower frequencies, middle frequencies and the higher frequencies. Compression is used to compress a sounds dynamic range by squashing the louder frequencies, it then moves the track up making it louder. This prevents clipping by squashing down frequencies that are too loud and noisy. The compression in my piece was focused in the mid frequencies and made the piece sound much cleaner. I then bounced out this master ensuring that dither was activated. This adds “low level noise in order to reduce errors made from changing bit depth” – Music Gateway (2020).  

EQ For the Streaming Master

Next, I did the mastering for streaming using the built in Master Assistant. This is a built in AI which analyses the composition and makes alterations to the piece based on this. After running the master assistant, it added an EQ, dynamic EQ and a maximiser. For the EQ, the AI boosted the lower shelf increasing the gain to 1.1dB. It also lowered a large portion in the middle band as well as boosting multiple layers in the higher shelf. It did this because when you increase the lower frequencies, the track can become very bassy and noisy. To balance out this boomy texture, the higher shelf frequencies have been increased, making the track sound a lot more crisp. 

Dynamic EQ For Streaming Master

Dynamic EQ is a combination of EQ and compression which allows for a more precise compression of a specific frequency. It was introduced in my piece mainly in the middle frequencies as there are many instruments operating at the same wavelengths. The dynamic EQ works to help squash specific problem frequencies, so they are not overly prominent in the track which explains why it was used at this point. A maximiser was then added which takes the composition as a whole and compresses parts in which the frequencies are too prominent and would cause clipping, this then makes the whole project louder. I then decided to add an Imager into my project. This allowed me to “adjust stereo width by frequency” – Ozone 9 (2001)- in order to increase or decrease the volume in my side channels. This gives the effect of widening or narrowing the stereo image of a piece. As this was for streaming services such as Spotify, I had to ensure that my project was between -14 and -15 LUFS – Loudness Units Full Scale. This is because Spotify requires this much headroom in order to maximize the project again at their end, so that all the songs on their site are similar in volume. After I ensured my master was complete, I bounced it out with dither activated.  

For my TV master, I use the same edits previously made for streaming. The only difference I needed to account for for this master, was the fact that TV requires even more headroom. This meant that I had to lower the level of my output so that the average LUFS were between –21 and –24. After this I again bounced out my master with dither enabled. 

References 

DIXON,D., 2019. What is the Difference Between Mixing and Mastering. [online]. Available from: https://www.izotope.com/en/learn/what-is-the-difference-between-mixing-and-mastering.html [Accessed 19 May 2021] 

FRANCIS,J., 2020. What is Dither and How Can You Use Dithering When Making Music. [online]. Available from: https://www.musicgateway.com/blog/how-to/what-is-dither-and-how-can-you-use-dithering-when-producing-music [Accessed 20 May 2021]  

OZONE 9., 2020. Imager. [online]. Available from: https://www.izotope.com/en/products/ozone/features/imager.html [Accessed 19 May 2021]  

THORNTON.M., 2015. Free Tutorial: Introduction to VCAs In Pro Tools. [online]. Available from: https://www.pro-tools-expert.com/home-page/2015/10/12/free-tutorial-introduction-to-vcas-in-pro-tools [Accessed 20 May 2021]  

STREETWATER., 2002. Low Cut Filter. [online]. Available from: https://www.sweetwater.com/insync/low-cut-filter/ [Accessed 19 May 2021] 

MUS2066 – Playing Live – Live Performance

Taylor Electo-Acoustic Connected to the DI Box

For the live performance we had to perform an original song created by each of the members. The songs we each composed were ‘Sometimes’ by Caitlin Cregg, ‘I hope’ by Eleanor Larkin, ‘We Could Fly’ by Ellie Burke and finally ‘Mars’ by me creating the set name of “Sometimes I Hope We Could Fly to Mars”. Throughout the course of this post, I will discuss my roles in each of these songs as well as the entire performance. For both Caitlin’s song “Sometimes” and Eleanor’s “I hope”, I performed the guitar parts on a Taylor electro-acoustic guitar. I connected the guitar to an AR-133 Active D.I box with a Jack lead. This then connected to a patch box which linked to the Behringer X32 Compact Mixer and further the Studer Vista 1 Digital Mixing Console in the studio for recording. To hear myself and others playing whilst performing, we connected the wedges to Behringer X32 compact digital mixer to control the levels of each individual wedge. I played the Roland RD-800 for Ellies song “We Could Fly”. We connected this to two DI boxes, right and left to get a stereo effect for the piano. Like prior, these then connected to a patch box then to the Compact mixer and finally to the mixing console in the studio. 

Roland RD-800 with both DI Boxes Connected
Display Screen on the Behringer X32 Compact Mixer Showing the EQ Editing Screen

A few days prior to the performance, we conducted a soundcheck in which we checked to see if both mixing desks were picking up signals as well as ensuring that the levels for each wedge, microphone, amplifier, and keyboards were all correct. To alter the volumes of each instruments, we first had to send each individual microphone to a bus, making sure sends on fader was selected, turn down all other faders and gradually increase the level on the mic we were checking by moving the faders up. We used the same method to alter the EQ level, starting by sending each microphone to a bus. When this was done, I selected the effects button on the side of the display screen to bring up the EQ editor. The bus faders were then used to control the amount of volume at certain frequencies and so if the microphone sounded “boomy” we would drag down the faders between 120hz and 180hz whereas if it sounded “tinny” we brought down the level of the high-end frequencies. We did this for each microphone. 

As my song was surrounded by the theme of Autumn, I decided to use a burnt orange background to replicate the colours of this season and set the scene for the performance.

The Colour Scheme Used for ‘Mars’ Performance

As the song was a slow and meaningful, I wanted the focus to be on the lyrics. For this reason, I did not perform in an eccentric manner but instead performed emotionally and told the members of the band to do the same. Moreover, an excitable and chaotic performance would not match the tone of the song due it being a sad love song. I have attached the performance of ‘Mars’ below.

MUS2066 – Playing Live – Song Writing Process

To begin the composition of my original song, I started by producing a chord sequence on my guitar that I liked the sound of. This chord progression consisted of an F, A Minor, E minor and then back to the F in the verses. For the chorus, the progression changed to an F, G and A minor. I then continued to play this progression whilst humming along with it to produce a melody for the piece.  

Once I figured out the melody, I began writing lyrics. I wanted the song structure to be simple, so I followed the standard song structure of verse, chorus, verse, chorus and a final eight for a gentle conclusion to the piece. The chord progression was melancholic in tone, so I made the lyrics the similar. I decided to use an ‘AABAAB’ rhyming scheme as it is what comes most naturally to me. As the first lyrics in the song were “I still remember, the start of September”, I decided that the theme I wanted to follow was Autumn. Throughout the song, there are lyrics in association to this season, such as “leaves starting to fall” and “leaves starting to brown”. I took further inspiration from Conan Gray’s song ‘Heather’, including lyrics such as “I am no Heather” and “gave me her sweater” as I really liked the vibe of this song and so wanted to replicate a similar tone for my piece. Below I have supplied the lyrics in full.

As we have three vocalists in the band, I decided that instead of having one lead singer, I would have all the vocalists singing at the same time but at different harmonies. This will add more texture and timbre to the composition as well as depth provided by differing tones brought on by the combination of different pitches in vocals and guitar. I believe a stripped-down acoustic song would generate the best out of the group and the song, as the song is slow and calm and the vocalists are soft and gentle in delivery. 

MUS2066 – Playing Live – Recorded Rehearsals

To choose what covers we were going to perform for the assignment, our group decided to make a Spotify playlist which I have linked below. The group added their favorite songs and artists into the playlist so all members could listen. This was the most successful thing to come out of the session, as it allowed us find common artists that we all felt comfortable performing, making for a better performance. Collectively, we decided that the songs we would be performing were Don’t Dream its Over by Crowded House and Stay by Rihanna. These songs fit our individual playing and singing styles and so got the best result out of all of us. 

 For Don’t Dream it’s over, I played the guitar whilst each of the singers performed a verse each and for harmonized for the chorus; Caitlin singing the high harmony, Eleanor on the low harmony whilst Ellie sang the main melody. This song played to all the members strengths as it included melodies and harmonies that suited all singers whilst also allowing me to show off my technique and ability on the guitar. A negative of this song for me, however, was the fact that the song was made up entirely of bar chords and so was quite a challenging song for me to play. To combat this however, I used a Yamaha Classical guitar which is made up of mostly nylon strings and is a smaller build to the guitar I was originally using; a Merida Diana Electro-Acoustic. This made the song more comfortable to play making for a better performance as well as providing an accurate representation of my ability. I have attached this performance below.

Next, we performed Stay by Rihanna. For this piece, I played the piano whilst the vocalists sang the melody for the verses whilst harmonizing in the chorus in the same way as Don’t Dream it’s Over. This song showed the group’s ability due to the harmony’s needed for the piece, as well as the chord changes for the piano. Personally, it emphasises my flexibility as a performer as I used different instrumentation in both songs. A challenge of this performance was that we had to do multiple takes due to the multiple levels and segments of the song. This means that there was a lot to remember leading to a few mistakes being made and so multiple takes needing to be took. However, I am still glad that we chose this song as it showed our determination to stick with a song and make it work for us. Again, I have attached this performance below. 

MUS2066 – Playing Live – Introduction

For this module we were required to complete three live performances. I will be documenting these performances in various blog posts. Originally, these were meant to be live performances in front of crowds, however, due to government guidelines because of the COVID-19 pandemic, we instead had to record three rehearsals with our band. Two of the songs performed can be of any song from any genre but the final performance must be of an original piece performed on live TV. For this assignment I will be working in a bad with Eleanor Larkin (Vocalist), Ellie Burke (Vocalist/Guitarist), Caitlin Cregg (Vocalist) in which I will be the guitarist. 

MUS2057 – Production and Mastering – Recording

Guitar Set Up – Neumnn U87 Positioned at the Sound Hole of the Guitar.

To record the guitar, I set up three Gobos around the Neumann U87 large diaphragm condenser microphone and the acoustic guitar. I directed the mic at the sound hole of the guitar as this is where the main body of the sound is released. The Neumann creates a rich, dense and warm tone which is what I wanted for my piece. I then ran an XLR cable from the Neumann into channel 1 on the snake cable stage box which corresponds to mic 1 on the stage box. After connecting a set of headphones so that Eleanor will be able to hear herself play as well as the click track, I proceeded to create a parent folder on the Mac and set up a new Pro Tools session, directing the saves to this folder. I created one mono audio track which will record output from the Neumann, a master fader to control the overall summed audio output for the project and a click track to help the performer keep in time. I also ensured that phantom power applied to the Neumann on the desk otherwise we would get little to no sound from the mic as it needs Direct Current in order to drive circuitry.  

Snake Cable Stage Box for Guitar.

When testing to see if any audio was coming through to the mixing desk, the levels were extremely low. After trying to fix this issue through increasing the gain and changing cables, I decided to change the outputs on the snake cable and stage box in order to be more time efficient. We found that when we changed the cables to input 3 and Mic 3, everything worked perfectly. I then performed a gain test in which I got the performer to play the loudest parts of the piece to ensure that there is no clipping and that I have enough headroom – “the amount by which the signal-handling capabilities of an audio system exceed a designated nominal level” – Wikipedia (2021). This ensures that there is a buffer incase the performer plays louder than expected. I recorded multiple takes so I had multiple options for my final mastering. 

Stage Box for Recordings

I then recorded vocals and piano for the piece. For the piano, I began by clearing the floor and pushing the piano into the middle of the studio. This way, I recorded the natural harmonics and reverberation provided by the room. This reverb was managed by using the gobos in a similar way as how I recorded the guitar. I used two AKG small diaphragm condenser pencil microphones in a spaced pair design. These mics produce a clean and directed sound which is ideal for recording piano. One was directed between the high and middle strings of the piano, and one directed was between the low and middle strings of the piano. This way, I was able to record a wide range of frequencies from the piano and, consequently, a broader, more full sound. I then added two mono audio tracks to the pro tools project and connected each microphone to the snake cable and stage box. These microphones also needed phantom power applied to them so I again ensured that this was active on the tracks. After running a gain test to make sure I had enough headroom and it was free of clipping, I recorded Jude playing the piano chords onto the project with multiple takes. 

Piano Set Up – 2 AKG Mics in a Spaced Pair Design

For the vocals, I simply placed three sound panels around the Neumann U87 large diaphragm condenser mic as I wanted the vocals to be very warm in tone. I added another mono audio track onto my pro tools session, made sure phantom power as applied and conducted a gain test before finally recording. This concluded the recording section of my project and meant that I could move on to the mixing and mastering aspect of the assignment.

References

WIKIPEDIA., 2021. Headroom (Audio Signal Processing). [online] Available from: https://en.wikipedia.org/wiki/Headroom_(audio_signal_processing) [Accessed 20 May 2021]

MUS2057 – Production and Mastering – Introduction

For this module I have decided to work alongside Eleanor Larkin, Ellie Burke and Jude Bankier. Due to Corona Virus, we were unable to go and scout unsigned artists and so have had to utilize members of the class to record. Today was primarily focused on figuring out which members of the group were doing what for the recording. I decided that I wanted to record Eleanor on vocals and guitar with Jude’s piano, performing my original song. I showed the group my composition, including the chord progressions and lyrics which I have attached below. I then listened to Eleanor and Ellie sing and play the song and determined who I would like to record. Eleanors vocals and playing style suited the song the best which is why I chose her. One of the main things that I believe was successful today was finding out who I would record meaning I can begin recording within the next few practices. One of the main challenges of today was teaching the group the lyrics and how to play the song as it was the first time they had listened to it, however, with more time and practice it will be perfected. 

Recording and Mixing – Mixing

When beginning my mix, I wanted the backing chords to sound as though they were further back in the mix. To create this effect, I turned the faders of the backing guitar down and the faders of the lead guitar up. This makes the backing chords sound quieter and whilst also making the lead guitar melody louder, creating the illusion that the lead guitar is in front and the main focus of the mix.

I then noticed that there was a section in the recording of the lead guitar in which I made a mistake in the chord progression. To combat this, I deleted this section of the recording and replaced it with another take which was correct. To do this I split the section in which the mistake was and lined up a new, better recording and used the zoom tool on Pro Tools in order to do this as accurately as possible. Once I was happy with the alignment, I then added a cross faded across the split section making the transition seamless and unnoticeable.

For one mix, I wanted the lead guitar to sound thicker and warmer and so turned the fader of the Neumann u87 microphone up and the faders on the sE5 pencil microphones down. As previously stated in other blog posts, the Neumann produces a warm tone which is why I turned this up, however, the sE5 microphone produces a much crisper, brighter tone. When these are at the same level, the sE5’s balances the warm tone out which is why I had to turn this microphone down as I wanted a really rich, warm tone to come through which would have been counteracted. This made the piece more melancholic and comforting which I thought fit the piece very well.

For the second mix, I wanted the exact opposite tone. I wanted a clear and bright tone that would really enhance the difference each microphones makes to the overall theme of the piece. To do this, I turned down the faders on the Neumann microphone and turned the faders of the sE5 microphone up. This gave the composition a much more hopeful theme due to the microphone creating a much lighter tone.

Recording and Mixing – Recording

Todays session was focused on recording my acoustic guitar parts for my piece. I wanted to used two se5 small diaphragm pencil condenser mics pointing at the 8th and 12th fret of the guitar. For my variation, I wanted to add the Neumann u87 large diaphragm condenser mic directed at the sound hole with one se5 mic pointed at the 8th fret whilst the other directed at the bottom of the guitar. I realised, however, that it would be more time efficient to record only the latter variation of the piece and utilise faders more in order to create two entirely different mixes.

Section of the Guitar Set Up

I started up by collecting the microphones, microphone stands, cable, three panels, a stool and of course, a guitar. I placed the panels surrounding the stool and guitar and set up two mic stands roughly where the mics would need to be placed. I then and attached the sE5 microphones and had Caitlin align them properly based on how I would be holding the guitar.

I then set up my project on Pro tools which consisted of three mono audio tracks for the microphones, a stereo master fader to control the volume of the entire project as well as a click track to help keep me in time.

After this, I connected the left side sE5 to input 1 on the snake cable stage box corresponding with Mic 1 on the stage box. I connected the Neumann to input 2 on the snake cable which then connected to Mic 2 on the stage box. Finally, the right side sE5 connected to input 3 on the snake cable which corresponded to Mic 3 on the stage box. I then connected some headphones so that I will be able to hear the talkback as well as the click track.

The mixing desks gives us control over what is happening on the pro tools project. The signal flow from the mics is then be picked up by the C24 Mixing Desk in the control room. It then goes through the Pro-tools HDX and is then sampled to go onto the Pro-tools project. The mixing desk is built up of various sections; Monitor – controls volume and gain levels heard in the studio and in microphones, input – controls the levels being recorded from the microphones onto the project and control – controls EQ, Plugin and fader levels. The C24 mixing desk works exclusively with pro tools and allows us to control elements of the project such as input gain levels, plugins, EQ and insert. It also includes channel elements such as faders for individual mics as well as mute and solo options.

Full Setup for my Guitar Recording Showing the Mic Positioning.

I started off my recording by first finding the tempo of the in order to set the click track which was around 120bpm. I recorded multiple takes in order for me to have a variety of options to choose from. I faced problems when recording the bridge of my piece as it was too complex and I continuously made mistakes. After trying to edit different takes together, the transition was not as seamless as I would have liked and so I decided to change the riff completely to make it easier to record. This turned out to be the best option as I was able to record the whole song in one take multiple times, meaning the editing stage will be much easier than it would have been prior to the change.

Originally, wanted to record a piano part for my original piece, in which I would records backing chords mimicking those used by the lead guitar in order to add depth and texture to my piece . After much thought, I decided that for this song, it would be more fitting to simply record the backing chords on the guitar. This is also more time efficient as the guitar set up was already ready as well as the fact that recording piano takes a long time to set up and perfect as well as record.

I used the same set up for the guitar, utilising three sound panels, however only using theNeumann U87 Large Diaphragm Condenser Mic, directed 6 inches away from the sound hole. This was because I wanted the backing chords to be deep, warm and rich which, after using this microphone to record the lead guitar part for this piece, is provided by the Neumann. I also wanted these chords to sound full which is my reasoning for positioning the mic closer to the sound hole. I added another mono audio track to my Pro Tools project to direct the microphone to the software and recorded multiple takes.

My aim for the next session is to begin the editing and mixing stage of my assignment. I believe what went well in this stage of my assignment, was the fact that I got all the recordings done in a time efficient manner whilst still recording a professional sounding piece. The main struggle I faced with today was making the final decision to change my composition and utilise what was better for the mix as well as for time efficiency.

Design a site like this with WordPress.com
Get started