Before I began mastering my project, I first had to mix it. According to iZotope (2001), mixing “carves and balances the separate tracks in a session to sound good when played together”. I started by adding fades to the beginning and end of every individual track. This made the transition between the segments seamless and made the project sound more professional. I then decided to use Equaliser (EQ) in order to separate the frequencies to make room for the instruments so they stand out in the mix. I started with the vocals, adding an EQ3-Band and utilising the Low-cut filter option, removing the “low frequencies from an audio signal”- Sweetwater (2002). By doing this, I freed up unused space at the bottom end, to be used by lower frequencies of other instruments. For a more natural sound, I added a D-Verb plugin to an Auxiliary channel which I used as a Bus to send the vocals to. Reverb adds natural harmonics to a piece adding warmth and space. I did the same for the guitar in the sense of introducing an EQ band for low-cut, as well as adding a secondary EQ band to manipulate the Hi-cut filter and free up space in the higher frequencies. I again created an auxiliary channel used as a bus with the D-Verb plug in attached and sent the guitar to this bus. For the piano, I added another auxiliary channel with an EQ band insert altering the low-cut filter and sent both the piano mono audio tracks to it, for the same reasons as previously mentioned. In order to edit the faders of all the piano channels at once, I introduced a VCA master channel and sent all of the piano tracks to it, including the Piano Aux. This allows for the “overall level of the grouped tracks to be brought up or down whilst maintaining the relative balance of the group” – ProTools Expert (2015). This concluded my mix and I was ready to master.
I had to create a master for CD, TV and Streaming using the iZotope software. For the CD master, I decided to use the CD preset provided by the program. This added an EQ which boosted the top end frequencies, made the mix lighter and brighter as opposed to boomy, dense and bassy. It then implemented a compressor which divided the song into three sections: lower frequencies, middle frequencies and the higher frequencies. Compression is used to compress a sounds dynamic range by squashing the louder frequencies, it then moves the track up making it louder. This prevents clipping by squashing down frequencies that are too loud and noisy. The compression in my piece was focused in the mid frequencies and made the piece sound much cleaner. I then bounced out this master ensuring that dither was activated. This adds “low level noise in order to reduce errors made from changing bit depth” – Music Gateway (2020).
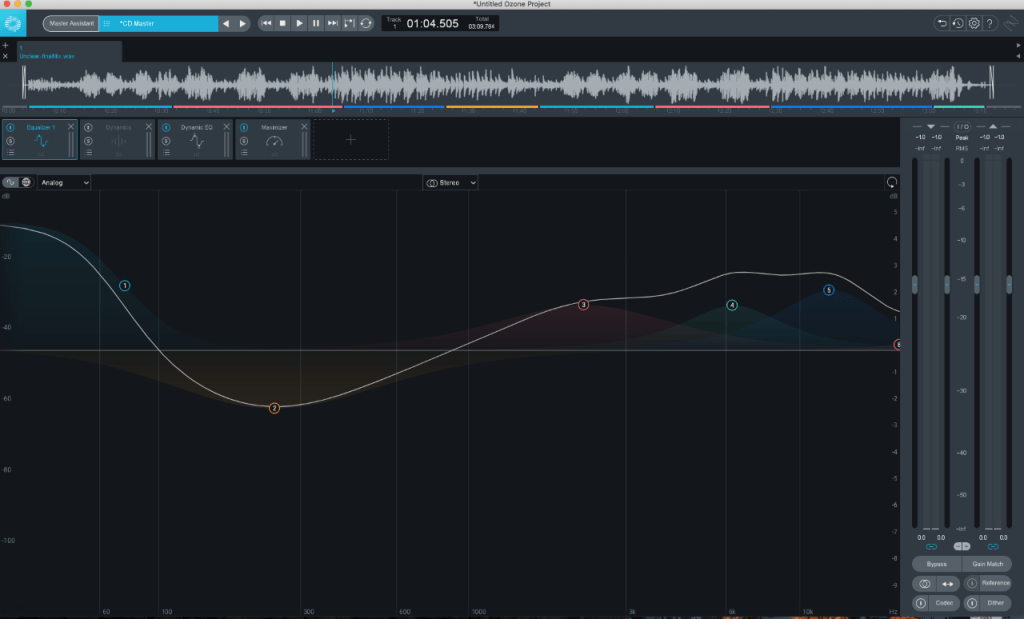
Next, I did the mastering for streaming using the built in Master Assistant. This is a built in AI which analyses the composition and makes alterations to the piece based on this. After running the master assistant, it added an EQ, dynamic EQ and a maximiser. For the EQ, the AI boosted the lower shelf increasing the gain to 1.1dB. It also lowered a large portion in the middle band as well as boosting multiple layers in the higher shelf. It did this because when you increase the lower frequencies, the track can become very bassy and noisy. To balance out this boomy texture, the higher shelf frequencies have been increased, making the track sound a lot more crisp.
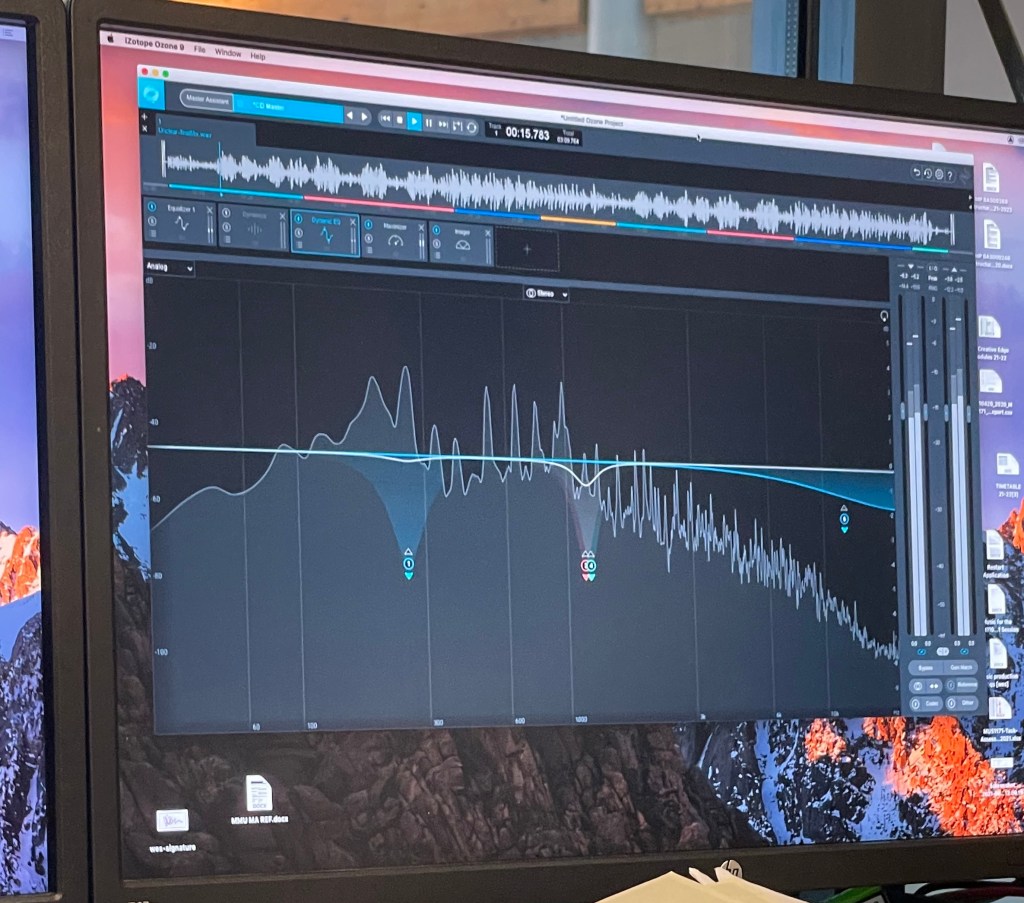
Dynamic EQ is a combination of EQ and compression which allows for a more precise compression of a specific frequency. It was introduced in my piece mainly in the middle frequencies as there are many instruments operating at the same wavelengths. The dynamic EQ works to help squash specific problem frequencies, so they are not overly prominent in the track which explains why it was used at this point. A maximiser was then added which takes the composition as a whole and compresses parts in which the frequencies are too prominent and would cause clipping, this then makes the whole project louder. I then decided to add an Imager into my project. This allowed me to “adjust stereo width by frequency” – Ozone 9 (2001)- in order to increase or decrease the volume in my side channels. This gives the effect of widening or narrowing the stereo image of a piece. As this was for streaming services such as Spotify, I had to ensure that my project was between -14 and -15 LUFS – Loudness Units Full Scale. This is because Spotify requires this much headroom in order to maximize the project again at their end, so that all the songs on their site are similar in volume. After I ensured my master was complete, I bounced it out with dither activated.
For my TV master, I use the same edits previously made for streaming. The only difference I needed to account for for this master, was the fact that TV requires even more headroom. This meant that I had to lower the level of my output so that the average LUFS were between –21 and –24. After this I again bounced out my master with dither enabled.
References
DIXON,D., 2019. What is the Difference Between Mixing and Mastering. [online]. Available from: https://www.izotope.com/en/learn/what-is-the-difference-between-mixing-and-mastering.html [Accessed 19 May 2021]
FRANCIS,J., 2020. What is Dither and How Can You Use Dithering When Making Music. [online]. Available from: https://www.musicgateway.com/blog/how-to/what-is-dither-and-how-can-you-use-dithering-when-producing-music [Accessed 20 May 2021]
OZONE 9., 2020. Imager. [online]. Available from: https://www.izotope.com/en/products/ozone/features/imager.html [Accessed 19 May 2021]
THORNTON.M., 2015. Free Tutorial: Introduction to VCAs In Pro Tools. [online]. Available from: https://www.pro-tools-expert.com/home-page/2015/10/12/free-tutorial-introduction-to-vcas-in-pro-tools [Accessed 20 May 2021]
STREETWATER., 2002. Low Cut Filter. [online]. Available from: https://www.sweetwater.com/insync/low-cut-filter/ [Accessed 19 May 2021]
